Toon Shading
Here are a few pointers to create a toon look. I am using Mental Ray to render since the model is subdivided using smooth preview, it should work for rendering using the default Maya render.
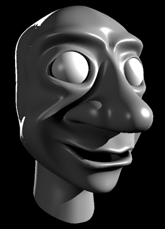
Here is a head with three point lighting and a standard Phong shading. The only thing I adjusted in the shader is that I turned the reflection to zero, down from Maya's silly .5 default
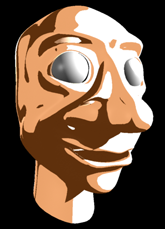
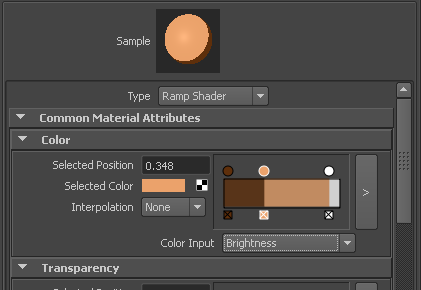
A ramp shader is now applied to the same head. The Color Input has been set to Brightness and the colors are told to not interpolate
Those highlights do not look good or even in the proper place. A ramp shader contains its own specular settings, which are applied on top of the ramp. It even includes reflectivity, witha default value of 1.
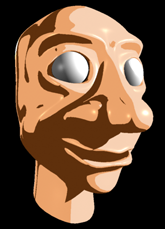
Turning off reflectivity in the ramp shader helps a lot, and with a little more tweaking we can get something quite acceptable. But I like more contol over it. To get a toon look based off of the phong shader we need to go into hypershade.
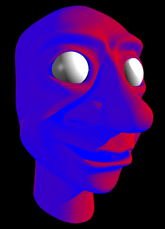
Apply a surface shader to the object
Connect a Maya → Utilities → blendColors node to the color input
Connect a Maya → Surface → Lambert shader to the Blender of the blendColors node. Since this is a single float value you can not connect the output color directy as that is a triple floar value (r, g, b). But you can connect just the red chanel of the color output of the lambert shader to the blender.
This will give you the result on the right (all values at default), and the following shading network:
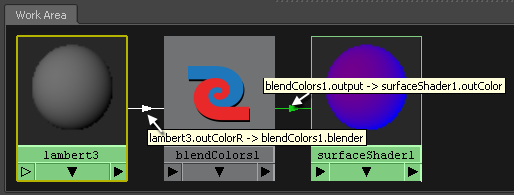
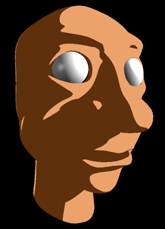
Of course we need to change the colors in the blendColors node
Inserting a Maya → Utilities → remapValue node between the Lambert and the blendColors node allows you to change the blend between the colors and similar to what we did earlier in with the ramp shader, you can make a sharp transition between the dark and light color


To add Hilites, I created a Maya → Surface → Phong node, on which I turned the color to black and set the diffuse and reflection to zero, leaving just the hilights
The red color output of that phong goes into another Maya → Utilities → remapValue node which drives the blender of another Maya → Utilities → blendColors node. That node blends between the output of the other blendColors node and a bright pale yellow. The result goes straight into the output color of the surface shader.

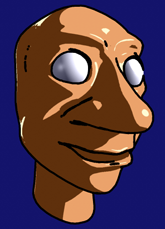
And here is the same head with added contours from Mental Ray. I also changed the background color to show the outline. These contours are in no way perfect, you would want your model to have sharper creases to create more distinct contours.
For reference on how to apply contours, you can look at this Mental Ray Contour Shader Tutorial on the TU Delft site (Wiki Page)