Painting and Rendering Vertex Color
Sometimes creating a nice flattened out UVs for an objects without overlap is impossible. So how to paint on such an object? Here is a way.
[A video demo can be found here: Using Vertex Colors]
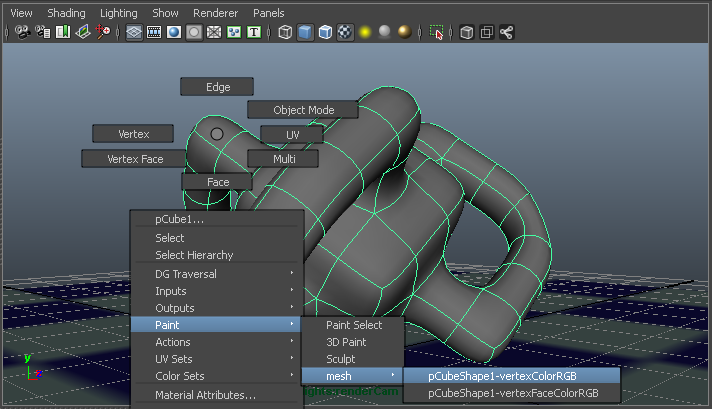
Select the object you want to add color to, right click on it and choose Paint - mesh - vertexColorRGB.

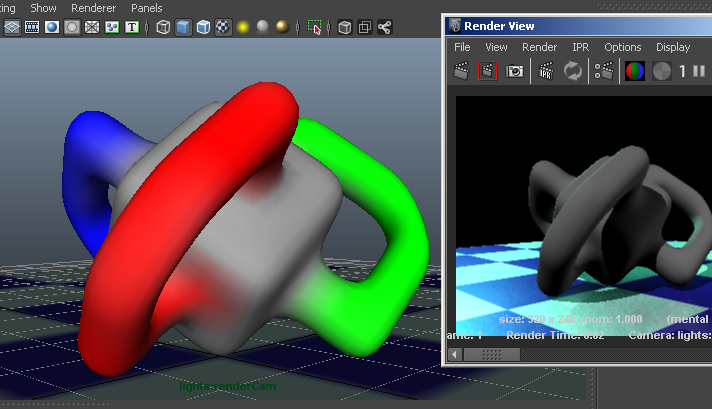
You can paint using the regular Maya paint interface, and add color to your object. Painting now assigns color values that are directly stored for each point. Of course this means that the resolution of your paint job is determined (limited) by the amount of points available. You cannot add detail this way, only put color on each vertex or face.
Unfortunately, it does not automatically render (using Mental Ray):

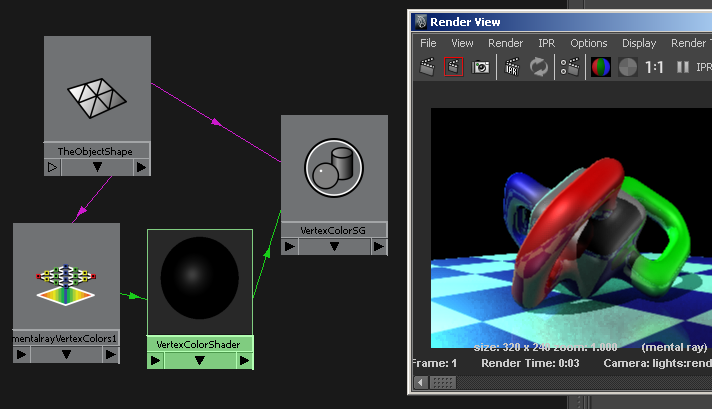
You need to go into hypershade and graph the network for the Shading Group that contains the object you are painting on.
In Hypershade, create a new node: MentalRay > textures > MentalRayVertexColors
Connect its color output to the color input of the shader (your Phong node for instace, I renamed it vertexColorShader in the network shown in image below)
Now you need to tell the vertexColorShader node which vertex color set you want to use (one object can have multiple vertex color sets). Select the MentalRayVertexColors node and in the attribute editor under cpv sets click Add New Item. "Cpv Set [0]" should appear. Cpv stands for "Color per Vertex"
Again in the Shading Group network, connect the output of the Shape node of your object (I renamed the object "TheObject") to the input of the MentalRayVertexColors node to tell it which color per vertex set to use. The output of the shape node is called ColorSet > colorset[0].colorName which should be connected to the cpvSets[0] input. You will need to use the connection editor to establish the connection.

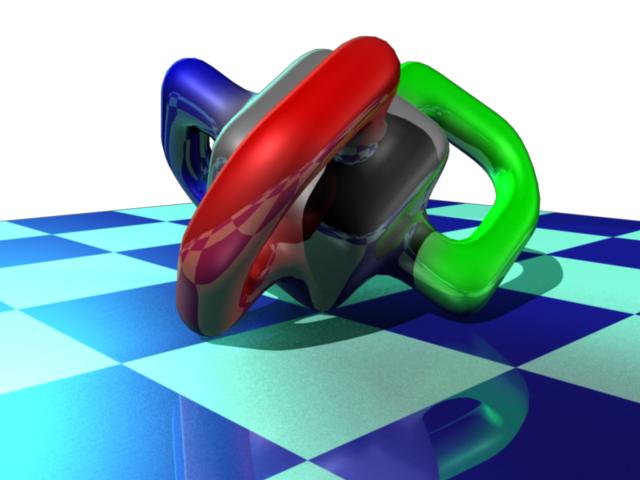
And the colors are now rendered.
