
How to Install and Run Spybot Search and Destroy

|
To install Spybot Search & Destroy, double click on spybotsd14.exe and follow the on- screen instructions. When setup is finished, you will be asked if you’d like to launch Spybot. Click the “Run Spybot.exe” box and then click “Finish". |
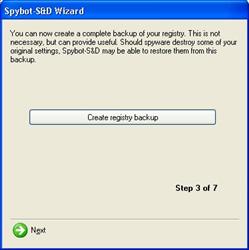
When Spybot starts for the first time, it will go through a wizard. You will be asked if you’d like to create a backup of your registry. The registry is where Windows stores many of its configuration settings. Though it is rare that Spybot will delete any important registry items, it is recommended that you backup the registry now. Depending on your system, it may take a few minutes to perform the backup. |
 |
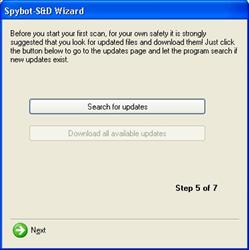 |
The next step allows you to search for updates. Since you are not connected to the internet at the moment, you do not need to access updates at this time so click “Next”. In the future, you should perform an update check every time you use Spybot. |
| Spybot also has the capability to “immunize” your system from certain kinds of spyware. This will block many of those annoying popup ads. Click “Immunize this system”. After your system is immunized, click Next. | 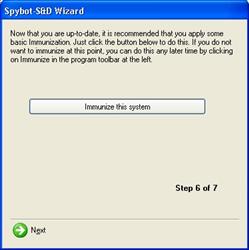 |
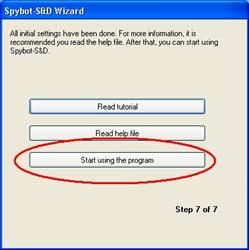 |
When the wizard is finished, click “Start using the program”. |
| To scan your computer, click “Check for problems”. | 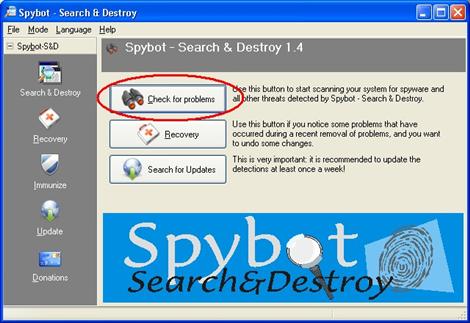 |
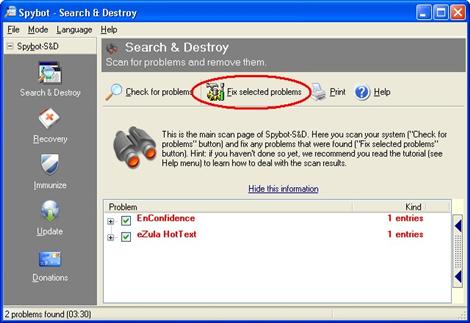 |
When Spybot has finished scanning, click “Fix Selected Problems”. |
You have now successfully used Spybot!